Quickstart: React
Cypress Component Testing is currently in beta.
To follow along with this guide, you'll need a React application.
The quickest way to get started writing component tests for React is to use one of the frameworks out there that can create a React project for you, like Create React App, or Vite. In this guide, we will use Vite as it's quick to get up and running.
To create a React project with Vite:
- Run the scaffold command
npm create vite@latest my-react-app -- --template react
- Go into the directory and run
npm install
cd my-react-app
npm install
- Add Cypress
npm install cypress -D
- Launch Cypress
npx cypress open
Configuring Component Testing
Whenever you run Cypress for the first time in a project, the app will prompt you to set up either E2E testing or Component Testing. Choose Component Testing and step through the configuration wizard.
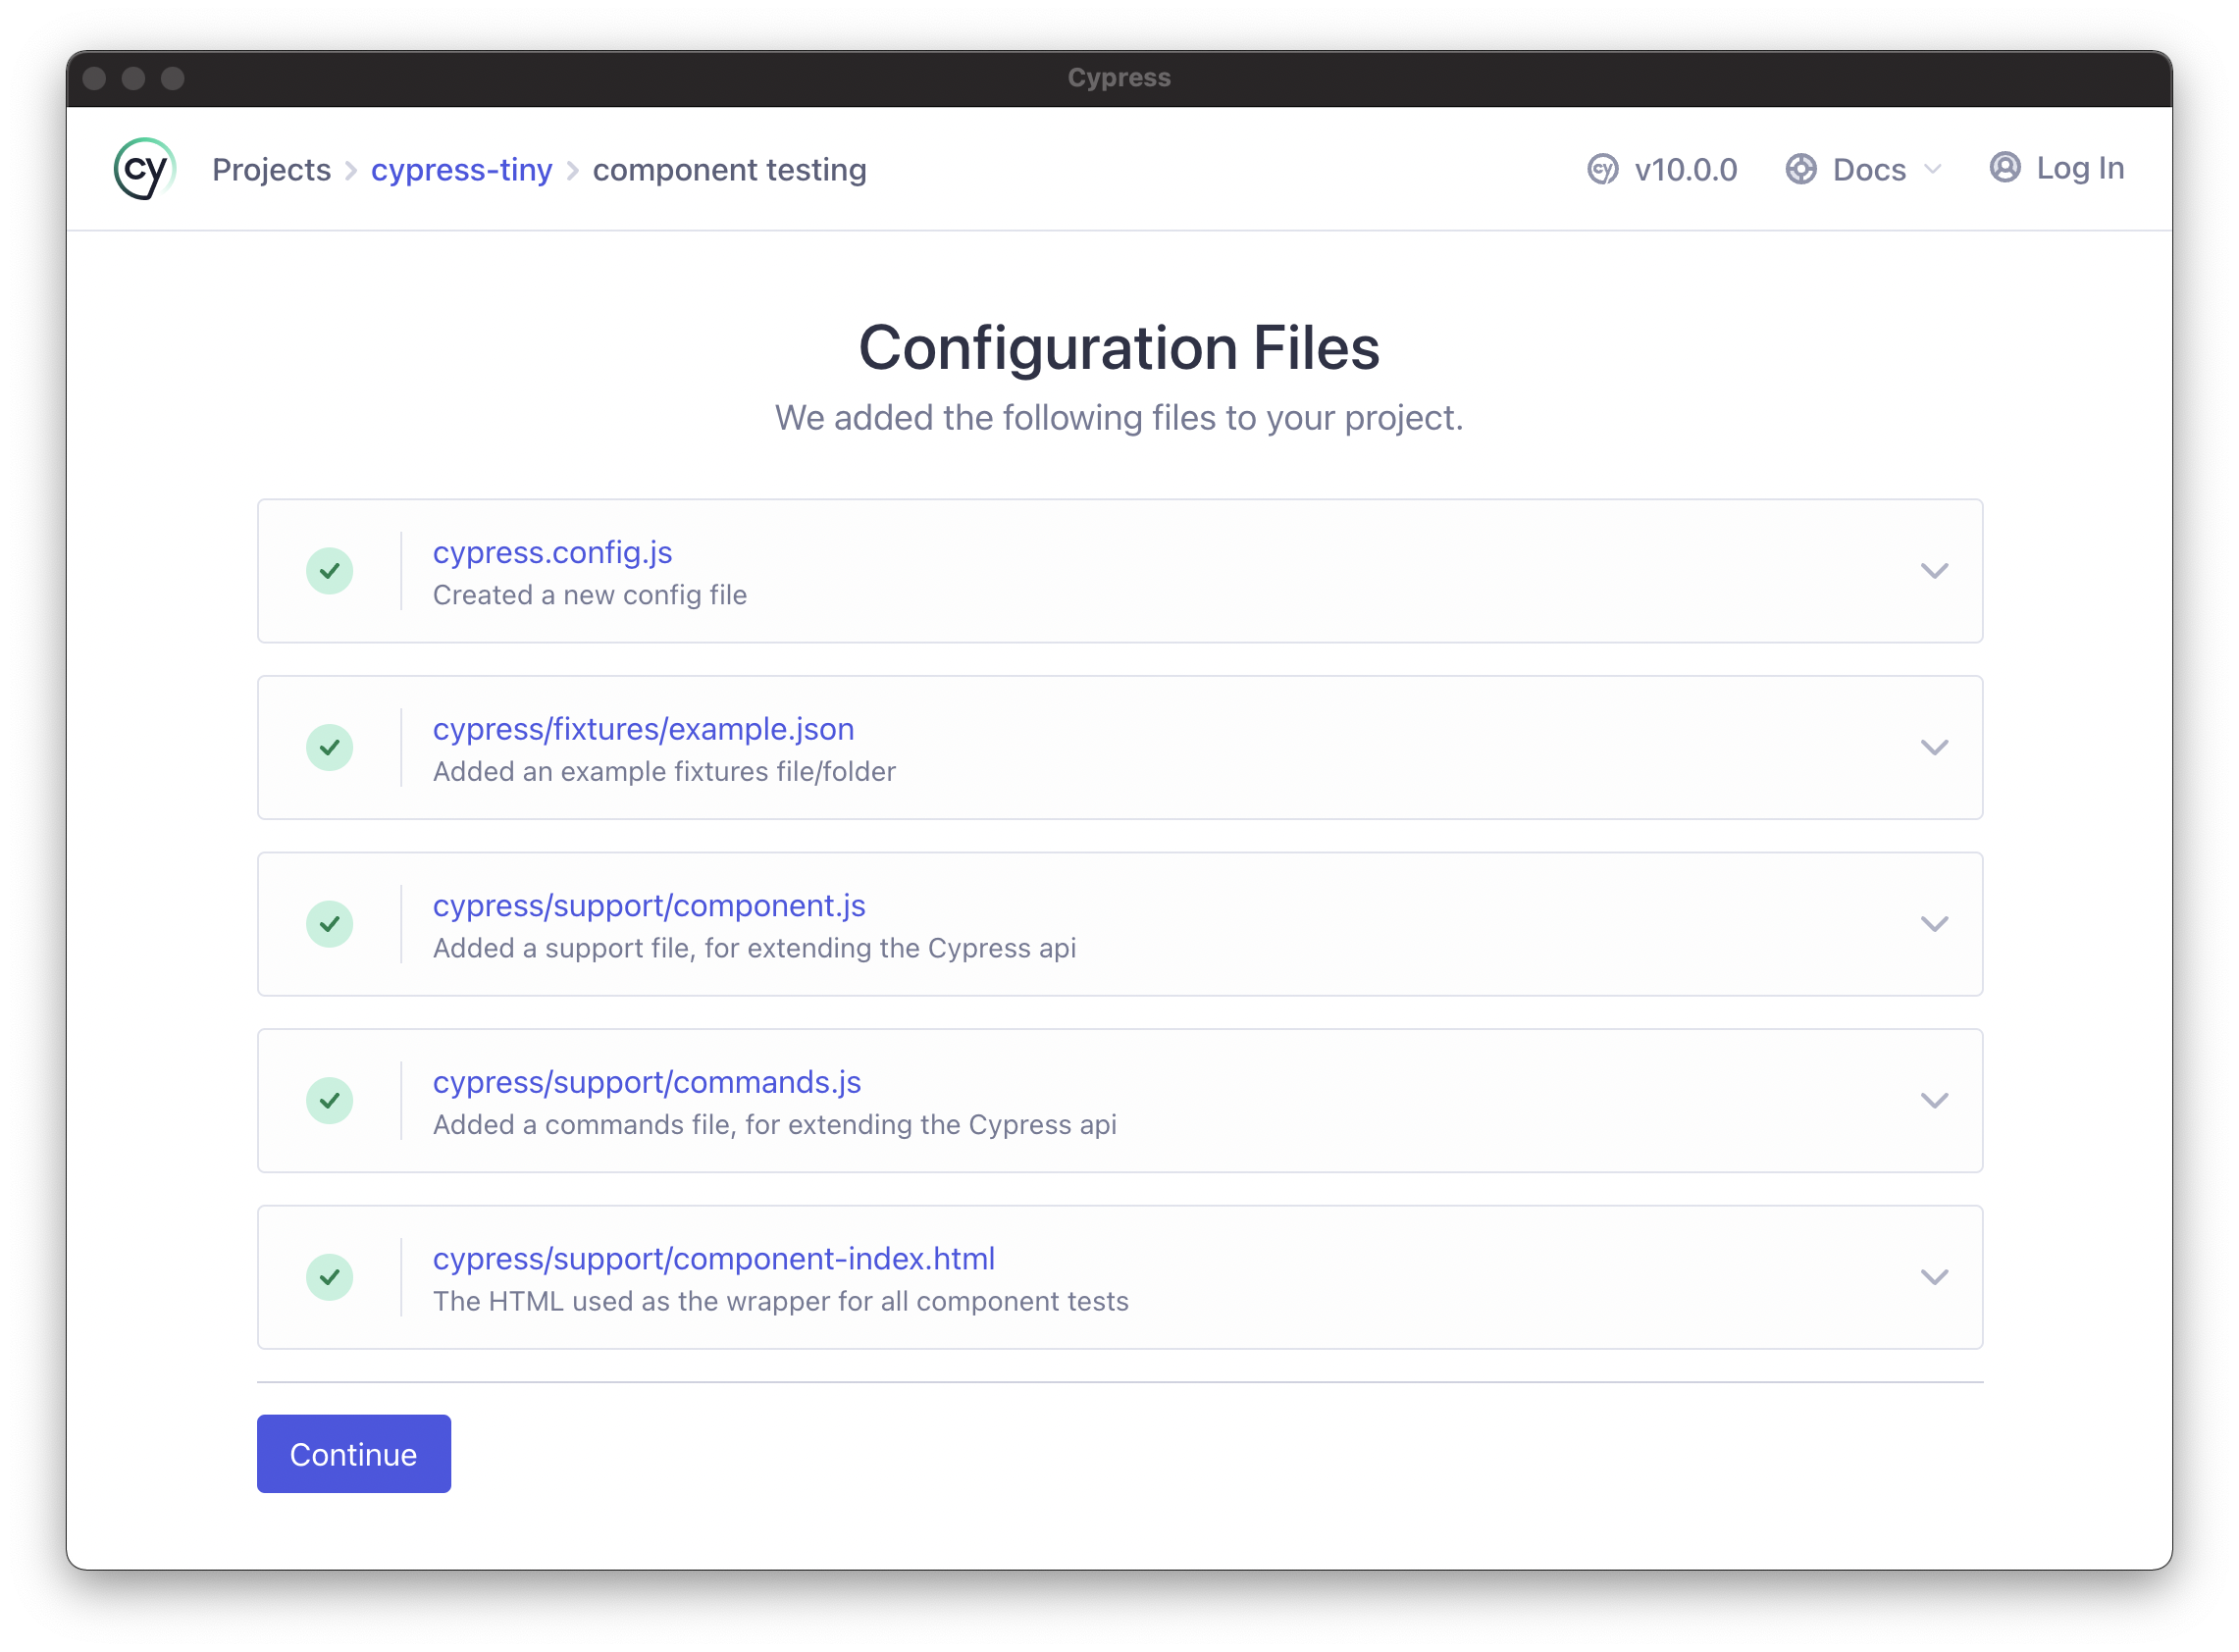
The Cypress Launchpad will detect your framework and generate all the necessary configuration files, and ensure all required dependencies are installed.

The Cypress Launchpad will scaffold all of these files for you.
After setting up component testing, you will be at the Browser Selection screen.
Pick your favorite and click "Launch" to open the Cypress app.
Creating a Component
At this point, your project is set up but has no components to test yet.
Simple components with few environmental dependencies will be the easiest to test.
Here are a few examples of similar components that will be easier or harder to test:
| Easier-to-test | Harder-to-test |
|---|---|
| A Presentational Component | A Presentational Component w/ Chakra UI |
| Layout Component w/ Slots | Layout Component w/ React Router |
| Product List with Props | Product List w/ Redux or Mobx |
This section covers how to mount simple React components in a Cypress test -- like Buttons, SVGs, Icons, or a Stepper component.
A button is an example of a component that is easier to test.
If your component uses providers, network requests, or other environmental setups, you will need additional work to get your component mounting. This is covered in a later section.
In this guide, we'll use a <Stepper/> component with zero dependencies and one
bit of internal state -- a "counter" that can be incremented and decremented by
two buttons.
Add the Stepper component to your project:
import { useState } from 'react'

export default function Stepper({ initial = 0 }) {
  const [count, setCount] = useState(initial)

  return (
    <div data-testid="stepper">
      <button aria-label="decrement" onClick={() => setCount(count - 1)}>
        -
      </button>
      {count}
      <button aria-label="increment" onClick={() => setCount(count + 1)}>
        +
      </button>
    </div>
  )
}
Next Steps
Next, learn how to mount the <Stepper /> component with the mount command!